Installing ADA detectable warning panels is crucial for safety and accessibility. The process can seem daunting, but it doesn’t have to be. I remember the first time I tackled this project. I was a bit overwhelmed but excited to make my community more accessible. Let’s break down the steps for the installation of ADA detectable warning panels, both cast in place and surface applied.
What Are ADA Detectable Warning Panels?
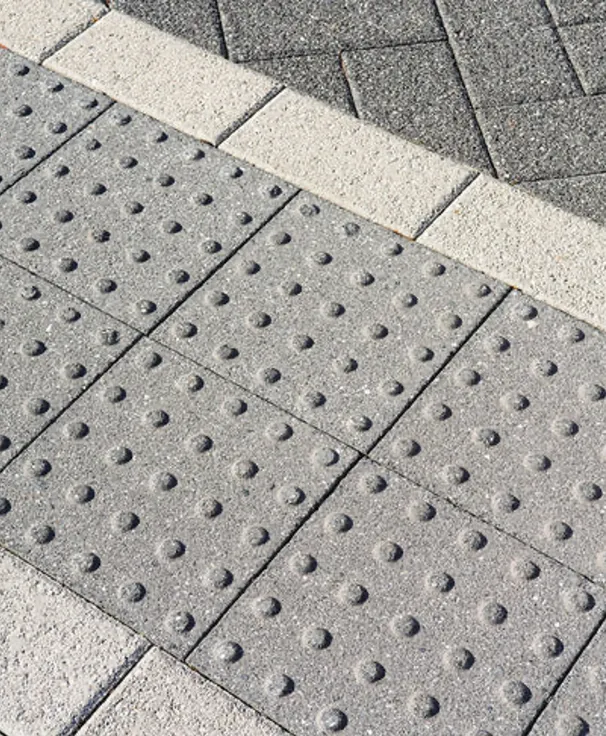
ADA detectable warning panels are textured surfaces that help alert individuals with visual impairments to changes in their environment. These panels are often installed at curb ramps, transit stops, and other locations where pedestrians may encounter obstacles. By providing tactile feedback, they help ensure safety.
Choosing the Right Type
There are two main installation methods for these panels: cast in place and surface applied. Each method has its own benefits. Here’s a quick comparison:
- Cast In Place: This method involves embedding the panels directly into the concrete during the pouring process. It creates a strong, permanent bond.
- Surface Applied: This method allows for easier installation on existing surfaces. It’s often quicker and less labor-intensive.
The Installation Process
Let’s dive into the steps for each method. You can choose one based on your specific needs.
Cast In Place Installation
1. **Prepare the Site:** Start by ensuring the area is clean and free from debris. This is crucial for a good bond.
2. **Set the Forms:** If you’re pouring new concrete, set up your forms to create the shape and size needed.
3. **Pour the Concrete:** Pour the concrete mixture into the forms. Make sure it’s level and smooth.
4. **Embed the Panels:** While the concrete is still wet, carefully place the ADA panels into the mixture. Press down firmly to ensure they are properly embedded.
5. **Curing:** Allow the concrete to cure completely before use. This usually takes about 24 to 48 hours.
Surface Applied Installation
1. **Clean the Surface:** Start by cleaning the area where the panels will be installed. Any dirt or moisture can affect adhesion.
2. **Measure and Mark:** Measure the area accurately and mark where the panels will go. Precision is key here.
3. **Apply Adhesive:** Use a strong adhesive suitable for outdoor use. Apply it evenly on the back of the panels.
4. **Place the Panels:** Press the panels firmly onto the surface. Make sure they align with your marks.
5. **Curing Time:** Allow the adhesive to cure as per the manufacturer’s instructions. This usually takes a few hours.
Why It Matters
The installation of ADA detectable warning panels is more than just a project; it’s about making spaces accessible for everyone. I recall a time when I saw a visually impaired person struggle at a busy intersection. It hit me then how important these panels are. They provide safety and independence for many.
For those interested in learning more, check out resources on truncated dome tiles. Understanding the materials can also make your installation smoother.
Final Thoughts
Installing ADA detectable warning panels doesn’t have to be intimidating. With the right tools and a bit of preparation, anyone can do it. Whether you choose the cast in place or surface applied method, you’re taking an important step towards a more accessible environment. So roll up your sleeves and get started! Your community will thank you.